Hopefully, by now you heard that we redid our kitchen. We shared how we landed on a completely new layout last week. But moving things around on paper is one thing, so today we’re taking you through how things happened in real life – including how a certain wall came down to get that open view into our living room.

This kitchen was our biggest renovation project to date, and it fell somewhere in the middle of the DIY spectrum. It wasn’t entirely hired out (like our first kitchen mostly was) and it wasn’t completely DIYed (like our second kitchen mostly was). For some tasks, we decided that minimizing time was more important, so hiring professionals was the best choice. And for others, minimizing cost won out – so we took them on ourselves, especially when they were things we enjoy doing or can do quickly ourselves. With this being our third kitchen reno, we have a much better sense of what tasks we’re suited for and what things we’d rather delegate in the name of not being kitchen-less forever. You can hear a lot more on this topic on this week’s podcast, Episode #19, but enough chitchat – let’s get to the pictures!
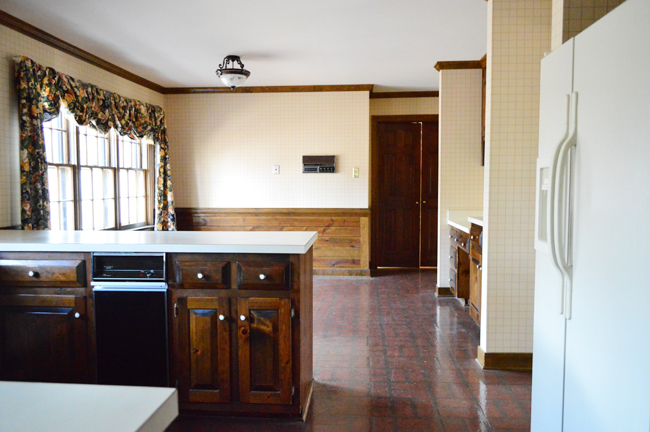
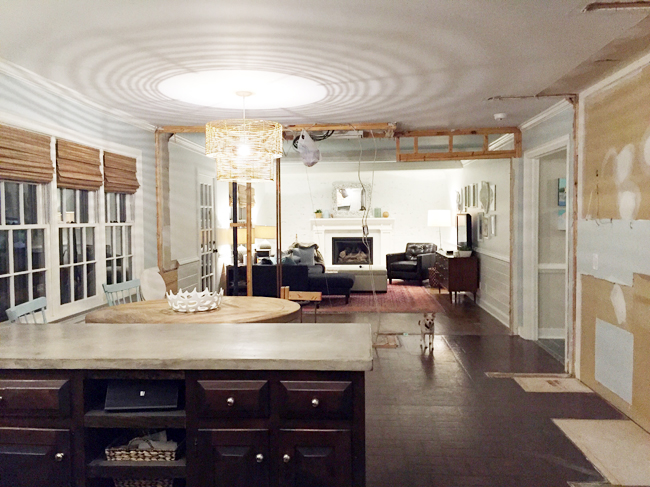
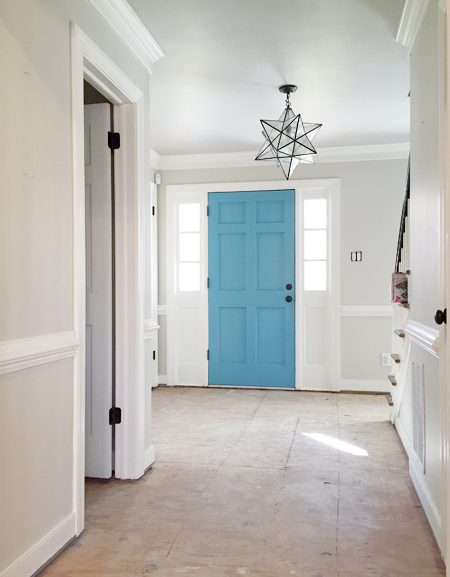
First, some befores. These are waaaay befores from when we moved in. These are the two vantage points you’ll see through most of this post (and boy are they going to change!). The first one is this angle from our garage door looking toward the living room:
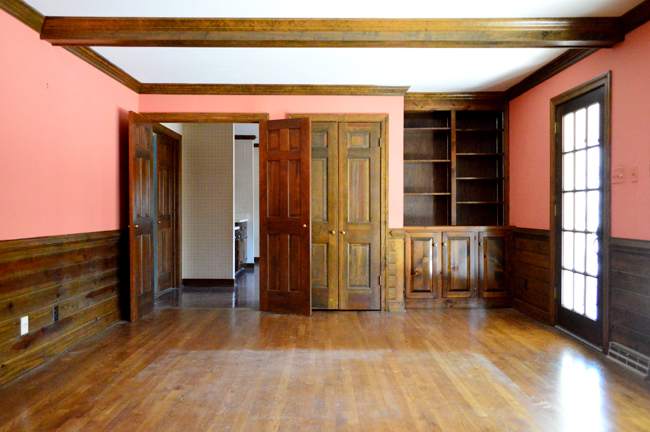
And the second one is this view from our living room looking back towards the kitchen. Which of course, in this shot, is obscured by the wall with the bookcase and old wet bar (which is behind by those closed double doors in the picture below). We were a little sad to lose the built-in bookcase, but we already had a plan brewing to replace them. And that dated, never-used wet bar? Not sad to see him go. Not one. teency. bit.
As you know from the last post, the floor plan we ended up going with involved opening up this wall to create better flow and clearer sight lights between the kitchen and the living room. Shortly after we moved in we had a contractor confirm that wall wasn’t load bearing, so we didn’t have to think twice about busting it down ourselves.
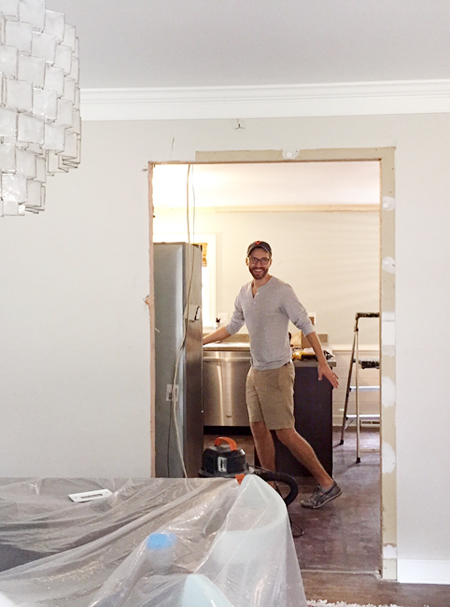
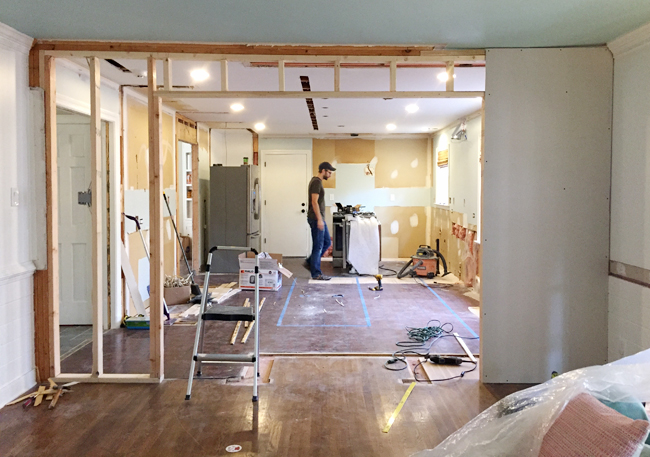
We did all of the demo, since it’s a relatively easy task and it’s also kinda fun. Let me tell you, it was ridiculously satisfying to suddenly see the living room while standing at the kitchen sink.
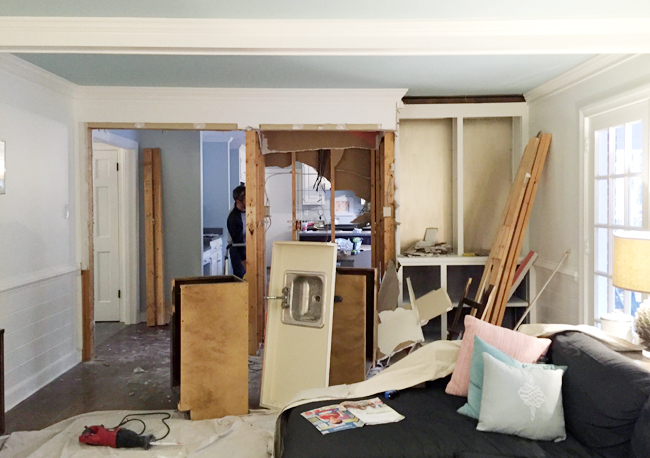
By the end of the first afternoon, we had that wall mostly down and the desk area in the kitchen removed. We couldn’t fully remove the main cooking area until a plumber and electrician rerouted/terminated some pipes and wires, so instead of half removing it (and living without a kitchen sink for even longer) we left that area of the kitchen intact for as long as possible. Hi Burger.
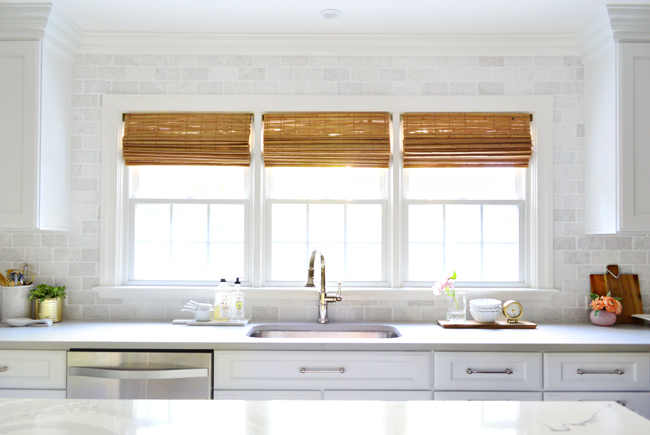
Oh, and that shot above is a good demonstration of why we moved away from our original idea a to turn that triple bay of kitchen windows into french doors out to the deck (longtime readers might remember us mentioning that idea when we first moved in). You can see there’s already a door that leads out to the deck in the living room, so adding more doors just a few steps away felt like overkill – especially with the wall down. Plus, leaving them as windows made room for more counter/cabinet space AND allowed Sherry to realize her dream of a kitchen sink centered under a giant bay of windows:
But back to the process. The day after we demoed out that living room wall and the kitchen desk area we had a contractor come to help us with some framing – mostly widening the doorway to the dining room. This wall WAS load-bearing, so we always like to rely on professionals in those situations. Here’s the temporary support he built to hold up the joists while he installed a new header for the doorway.
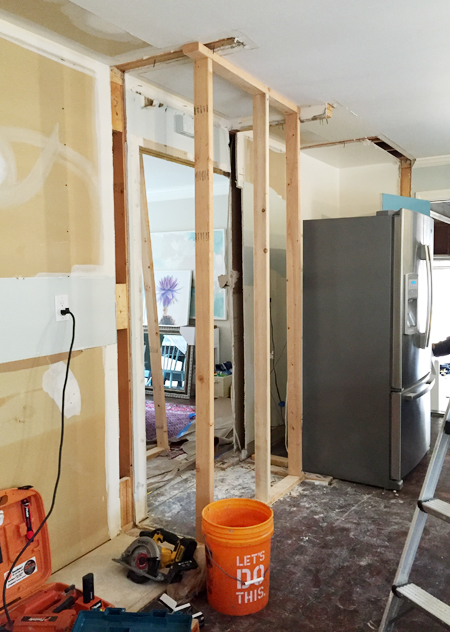
Going through all this trouble to widen a doorway about a foot may seem insignificant, but it went a long way in helping the rooms feel more connected. This isn’t a perfect before and after, but here’s what the doorway looked like right before the reno started…
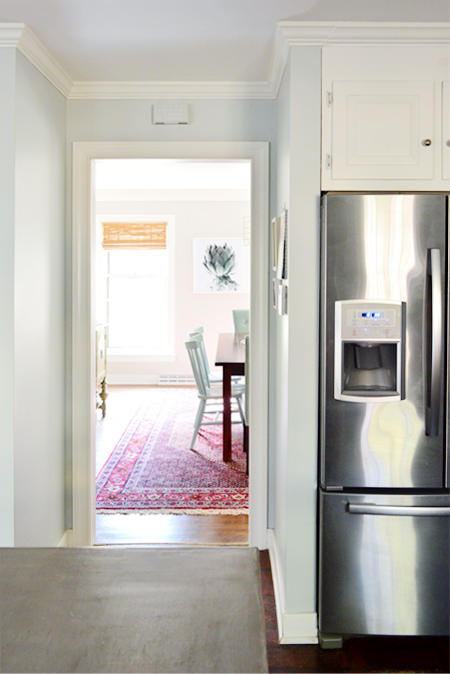
… and here’s that opening from the other side (dining room into kitchen) after we widened it. I mean, clearly I’m happy about it.
The other reason we wanted to change that doorway was so that it would be the same size as the adjacent doorway that connects the kitchen to the foyer. So now when you stand in the kitchen, they look a lot more balanced.
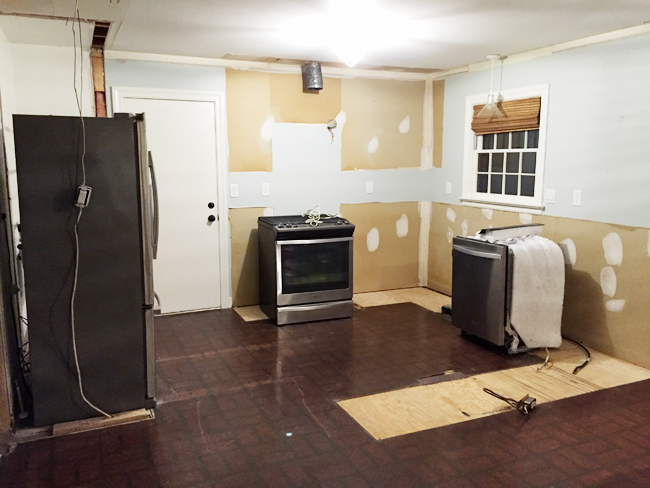
While the contractor worked away on the framing (with the plumber and electrician scheduled to arrive soon), we jumped back into kitchen demo. Sayonara functioning kitchen!
No sink = things just got real.
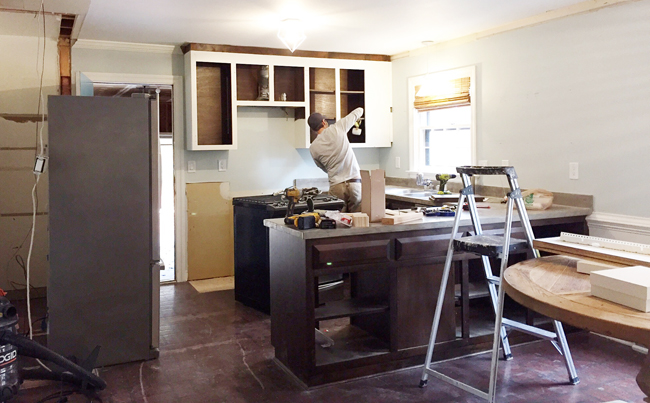
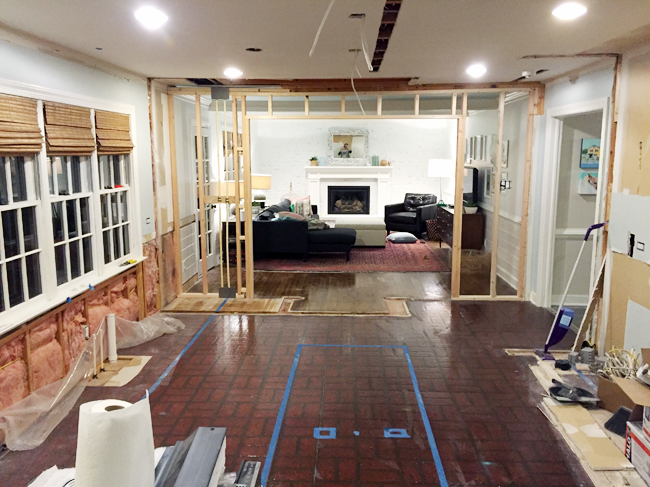
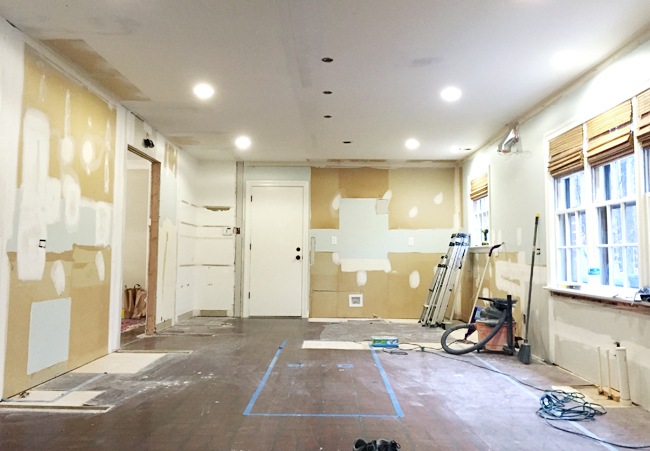
Fast-forward a day or so and our plumber had terminated the old pipes and the gas line to the stove along with running new ones in the new locations. Our electrician also got rid of old wiring and ran new stuff, including adding some recessing lights and boxes for pendants in the ceiling. And we finally began framing the new opening to the living room (the contractor who widened our dining room doorway helped us frame it up so we could fly through this part faster).
As cool as it was seeing the two rooms completely open to each other, we knew having some sort of cased opening – even a big one – felt more natural to the house and would also give us a place for the cabinets to terminate into (otherwise we’d just see the end of the cabinets from the living room). Plus, we needed some wall space in the living room to add back some built-ins.
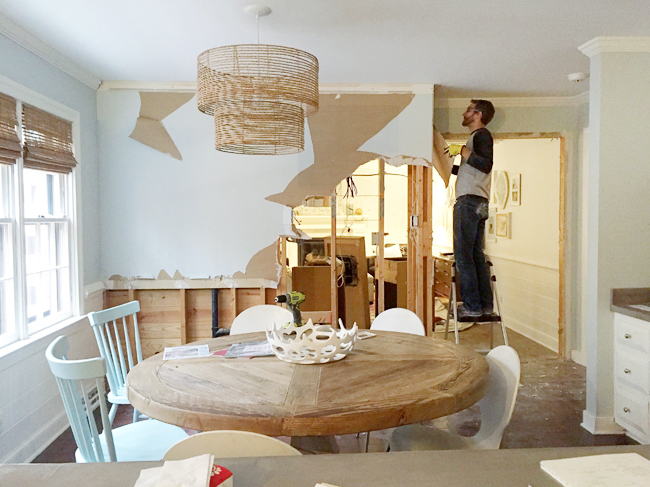
The drywalling process is actually an interesting example of how we balanced DIY & contracted work. We can drywall. But we don’t enjoy it and we aren’t particularly fast at it – especially the mudding & sanding part. So we negotiated that we would buy & hang all of the drywall and we would mud & sand all of the spots that would eventually be covered by cabinets or tile or built-ins (two whole walls fell into that category) – since they wouldn’t need to be perfect. That meant we only paid for a few hours of mudding/sanding from a pro to finish the areas that would be visible – like the long strip on the ceiling (which can be especially tricky to get smooth). The compromise saved him time, it saved us money, and we still got a professional finish everywhere it counted.
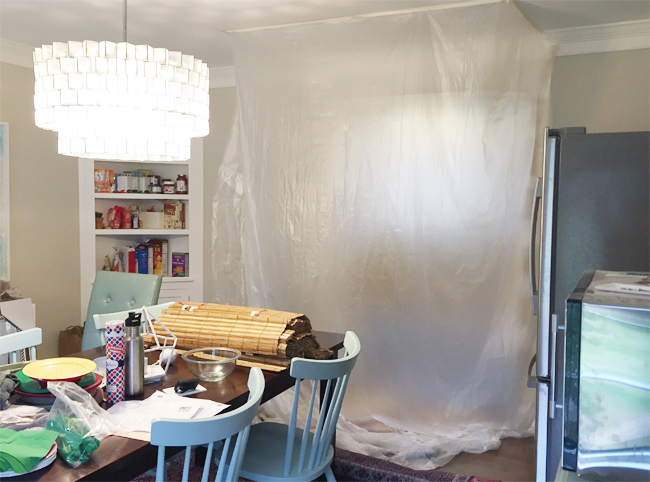
At this point, you may be wondering where all of our stuff went. Um, the dining room.
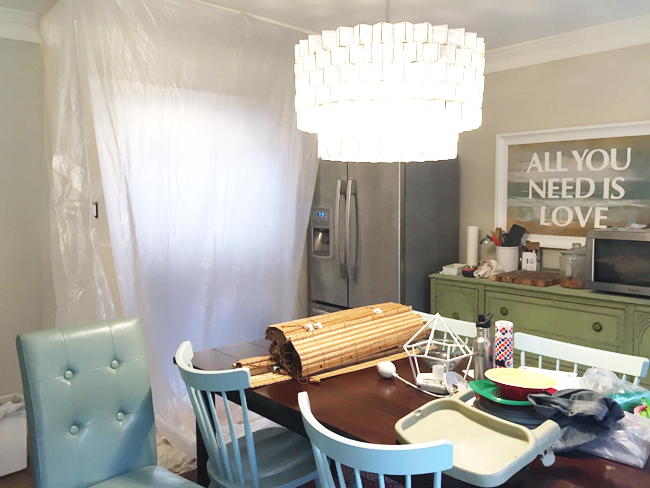
For some reason, the only photos we ever took of our makeshift kitchen occurred when we had a tarp taped up to protect it from drywall sanding dust. I guess this room wasn’t very nice to look at, so we weren’t inclined to extensively document it. But the corner shelves became our pantry and dish storage, the green buffet was our “counter” (complete with microwave) and the dining table was basically a spot for anything and everything.
The only thing worse than having to cram everything in there for a couple of weeks was MOVING IT ALL OUT again. Not like moving it back into the kitchen, but moving it completely out of the house when it came time to do the floors.
Oh the floors! Let’s talk about them. The peeling, cracking, and heavily scratched faux brick sheet of linoleum was probably our least favorite thing about the old kitchen. So getting rid of it was an easy call, as was deciding on something new. We’re suckers for hardwoods, which we had and loved in our first kitchen – plus we had them in many other rooms on the first floor here, so we knew we’d love a more unified look. But actually making hardwoods happen wasn’t so simple. Because when is moving out of your ENTIRE first floor for two weeks simple?

Long story short (we’ll give you the long version at some point) installing new hardwoods in the kitchen meant blending them seamlessly into the adjacent living and dining rooms. Which meant clearing those rooms and refinishing those floors at the same time. And if 85% of the first floor is going to be hardwood, why not go all the way? So although we had rescued the grout in our slate covered foyer and happily lived with it for years, we always secretly wished our first floor felt more seamless – rather than having soooo many flooring transitions (five, to be exact!). So yes, that’s how we found ourselves having to complete vacate the first floor. It certainly wasn’t the easy way, but it got us where we wanted to go.
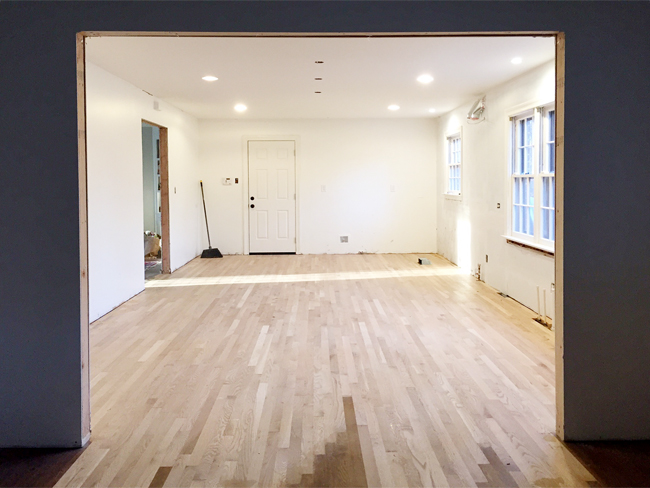
Although we installed all the prefinished hardwood flooring upstairs ourselves, seamlessly blending existing hardwoods with new boards was something we felt best leaving to the pros. Luckily we knew the perfect guys thanks to our work on some local builder spec houses. So after everything came out (like the old slate floors – see above), we watched in awe as our hardwood floors were perfectly patched in.
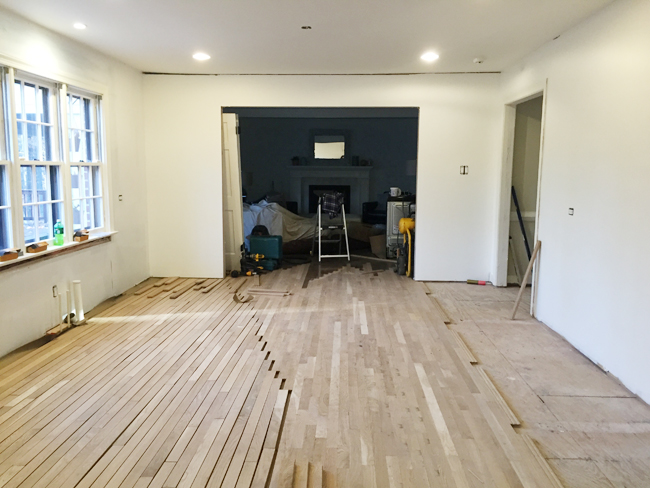
In the photo above and below you can see how they carefully chiseled out some of the original living room boards to stagger in the new stuff. It took two guys more than three full days, so it became clear very quickly that we made the right call in hiring it out. One of the best things about it is that our entire first floor is not only all matching hardwood now, there aren’t any step ups or downs or raised transitions. It’s all exactly the same level plane. Woot!
The flooring and cabinet guys both recommended installing our cabinetry before staining the floors. Recently stained floors still need around 10 days to fully cure (before moving heavy objects like furniture/cabi
No comments:
Post a Comment